AI FACE TEST
Take the AI face test
Two portraits appear side by side. One is a real photograph and one is AI-generated. Choose the AI face, see the answer instantly, then learn what details were worth comparing.
Try a real question
Which picture was made by AI?
Choose A or B. Get the answer immediately — no account required.
Tap a photo to answer
A repeatable method
Don't guess from one clue. Inspect in layers.
The most useful skill is not memorizing yesterday's AI mistakes. It is learning where several parts of an image must agree with each other.
1. Read the whole image
Start at normal size. Ask whether the scene, expression, lighting and camera feel belong together before hunting for tiny defects.
2. Zoom into high-information areas
Eyes, hair edges, teeth, glasses, fingers, reflections and contact points force many visual relationships to agree at once.
3. Compare, don't stereotype
One smooth cheek or unusual tooth proves very little. Compare several independent clues and look for contradictions.
4. Make a weighted decision
Give more weight to structural inconsistencies than to vague 'AI vibes'. Modern generated images can be extremely convincing.
Visual field guide
Where to look — and why it matters
These are comparison zones, not automatic proof. A strong judgement usually comes from several clues pointing in the same direction.
Eyes and catchlights
Compare eye shape, iris detail, eyelids and reflected light. Both eyes should make sense under the same lighting and perspective.
Hair and facial edges
Inspect loose strands around the forehead, ears and cheeks. Hair is complex and can expose subtle merging or inconsistent boundaries.
Teeth, lips and mouth
Fine dental spacing, lip texture and the transition between teeth, gums and shadows can reveal generation artifacts.
Skin and asymmetry
Real faces contain pores, marks and natural asymmetry. AI faces can be extremely convincing, so compare local texture rather than relying on one stereotypical clue.
Visual lesson · Faces
Eyes, skin and edge detail
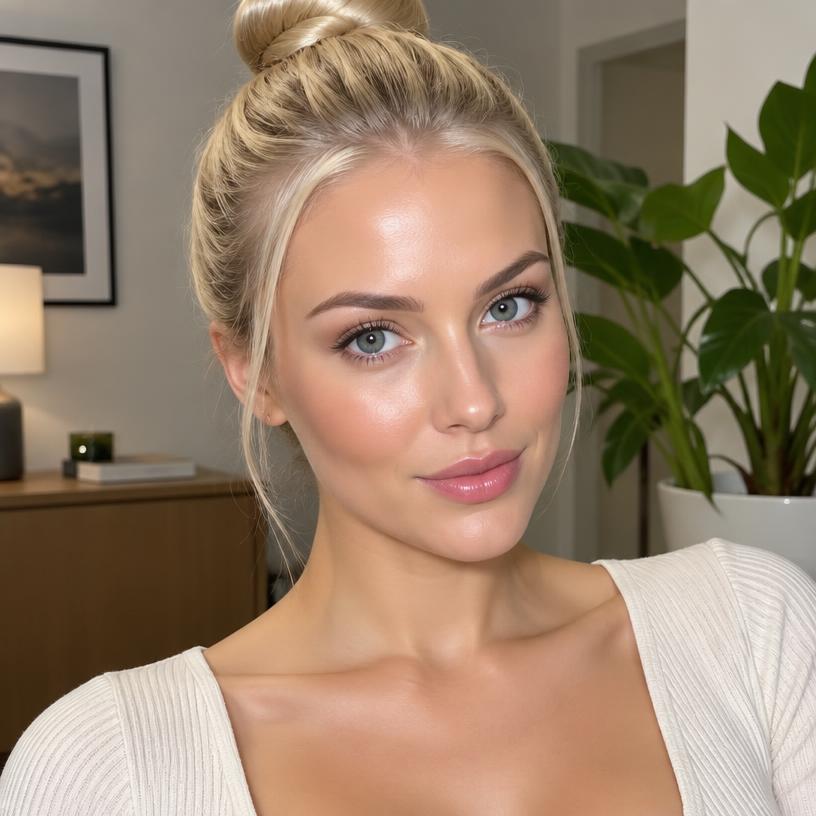
Use the numbered markers literally: 1 marks the eyes, 2 marks cheek skin and 3 marks a hair boundary. Compare the same type of evidence in both images.
The numbered markers correspond directly to the numbered explanations below.
 A123
 B123
Eyes and eyelids
Marker 1 is placed directly on the eye area. Compare iris detail, catchlights, eyelid edges and lashes in both portraits.
Cheek skin texture
Marker 2 is placed on an exposed cheek area. Compare pores, fine lines, local sharpness and whether texture changes naturally across the skin.
Hair-to-skin edge
Marker 3 is placed where hair meets the face or background. Compare fine strands, edge transitions and whether the boundary stays structurally coherent.
Takeaway: If one clue feels suspicious but the other marked areas remain coherent, lower your confidence. Several independent inconsistencies are much stronger evidence.
Strong clues
Several independent inconsistencies that reinforce each other: geometry, lighting, reflections, anatomy, contact points or local texture that does not fit the same camera and scene.
Weak clues
“Too perfect”, smooth skin, dramatic lighting or one odd feature. Real photography, retouching, compression and portrait mode can create all of these too.
How the FaceOrBot face test works
Each question presents one real portrait and one AI-generated counterpart. You choose which image you think is generated. After answering, FaceOrBot reveals the real and AI sides and shows an image-specific explanation.
The point is not just to build a score. Repeated exposure helps you learn which clues are useful, which are misleading, and how quickly your first impression can be wrong.
What makes a good AI face test difficult
An easy test uses exaggerated errors. A useful test pairs images with similar framing, lighting and photographic quality so that the decision depends on careful observation rather than an obvious style difference.
FaceOrBot is designed around that comparison. The generated counterpart is intended to feel like the same kind of photograph while depicting a completely different person, which keeps the challenge focused on realism rather than identity matching.
How to improve your score
Slow down on the first few questions and build a routine. Compare eyes, hair, mouth, accessories and background contact points in both portraits. Do not ask only “which one looks fake?” Ask which image contains more visual relationships that fail to agree with each other.
Over time you can speed up. The goal is to develop pattern recognition without falling back on stereotypes such as “AI skin is always smooth” or “AI teeth are always wrong.”
Remember
A visual clue is evidence — not proof.
A real photo can contain blur, strange teeth, aggressive sharpening, beauty filters or broken-looking edges. An AI image can be almost flawless. Confidence should rise when several independent details fail in a consistent way, not because one feature looks unusual.
Frequently asked questions
Is the AI face test free?
Yes. FaceOrBot can be played for free in the browser.
Do I need an account?
No account is required for normal play.
Can I challenge a friend?
Yes. FaceOrBot includes one-to-one challenges so another person can play the same question set and compare scores.
Train your eye instead of memorizing rules
FaceOrBot gives immediate feedback after every choice and explains what was worth inspecting. That makes each round a short visual lesson rather than just a score.